Choose Your Way to Build a Website
From AI-powered designs to fully custom creations, find the option that fits your business, your style and your capabilities.
Flexible website solutions for every business, skill level, and timeline.
Whether you want to let AI handle the heavy lifting, customize a template, transform your existing content, convert a Word file, or work with our expert design team, we have a solution for you. Explore each option below to see how easy it is to create a website that looks professional, reflects your brand, and gets your business online faster.
Option 1.
Build Your Site with AI
What it is: Let our AI design your website automatically.
How it works: Upload your content or answer a few questions, and our AI generates a complete website tailored to your business.
Why it’s great: Perfect for speed, simplicity, and a professional look without any design skills.
Read the below quick guide to help get you started.
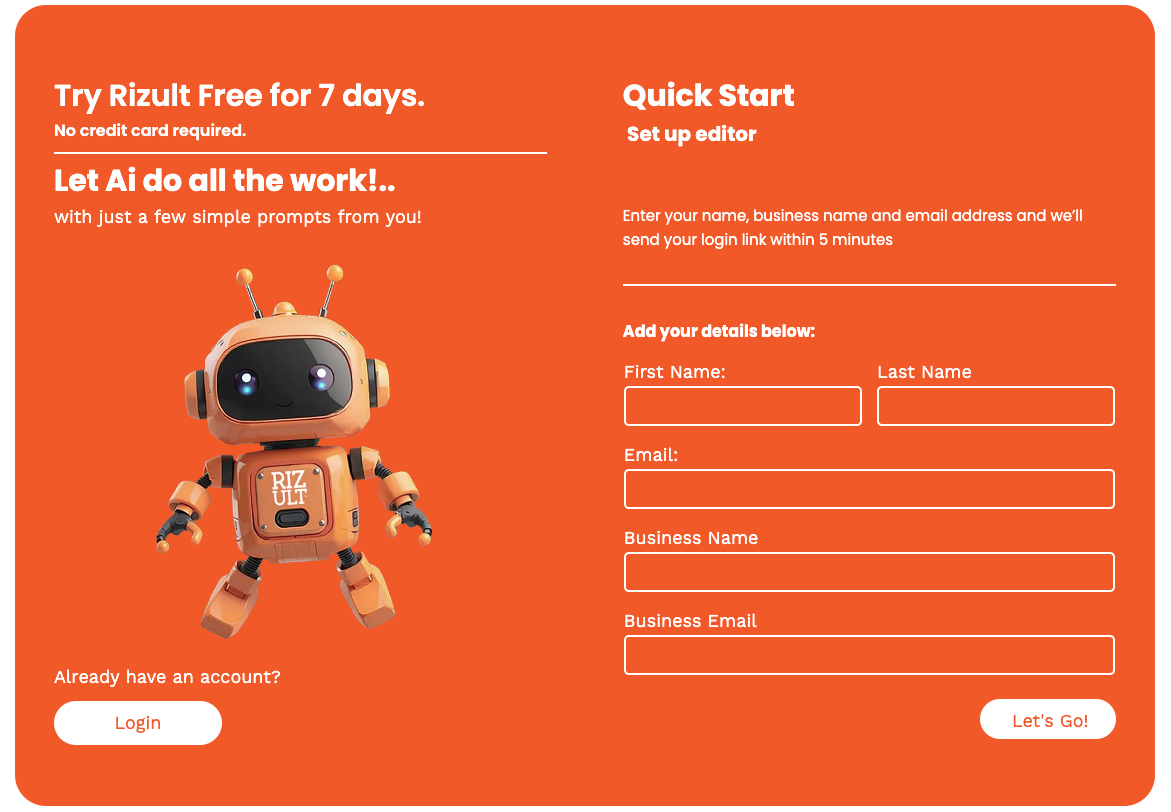
Step 1:
- Enter your details and click 'Let's Go'.
- Shortly after you will recieve an email from our Onboarding Team. (check your junk mail - just in case). Should arrive instantly but that depends on your server. So go make a coffee.
- Once the email arrives click 'Let's Go!'
- Create a password.
- Then we are ready to begin
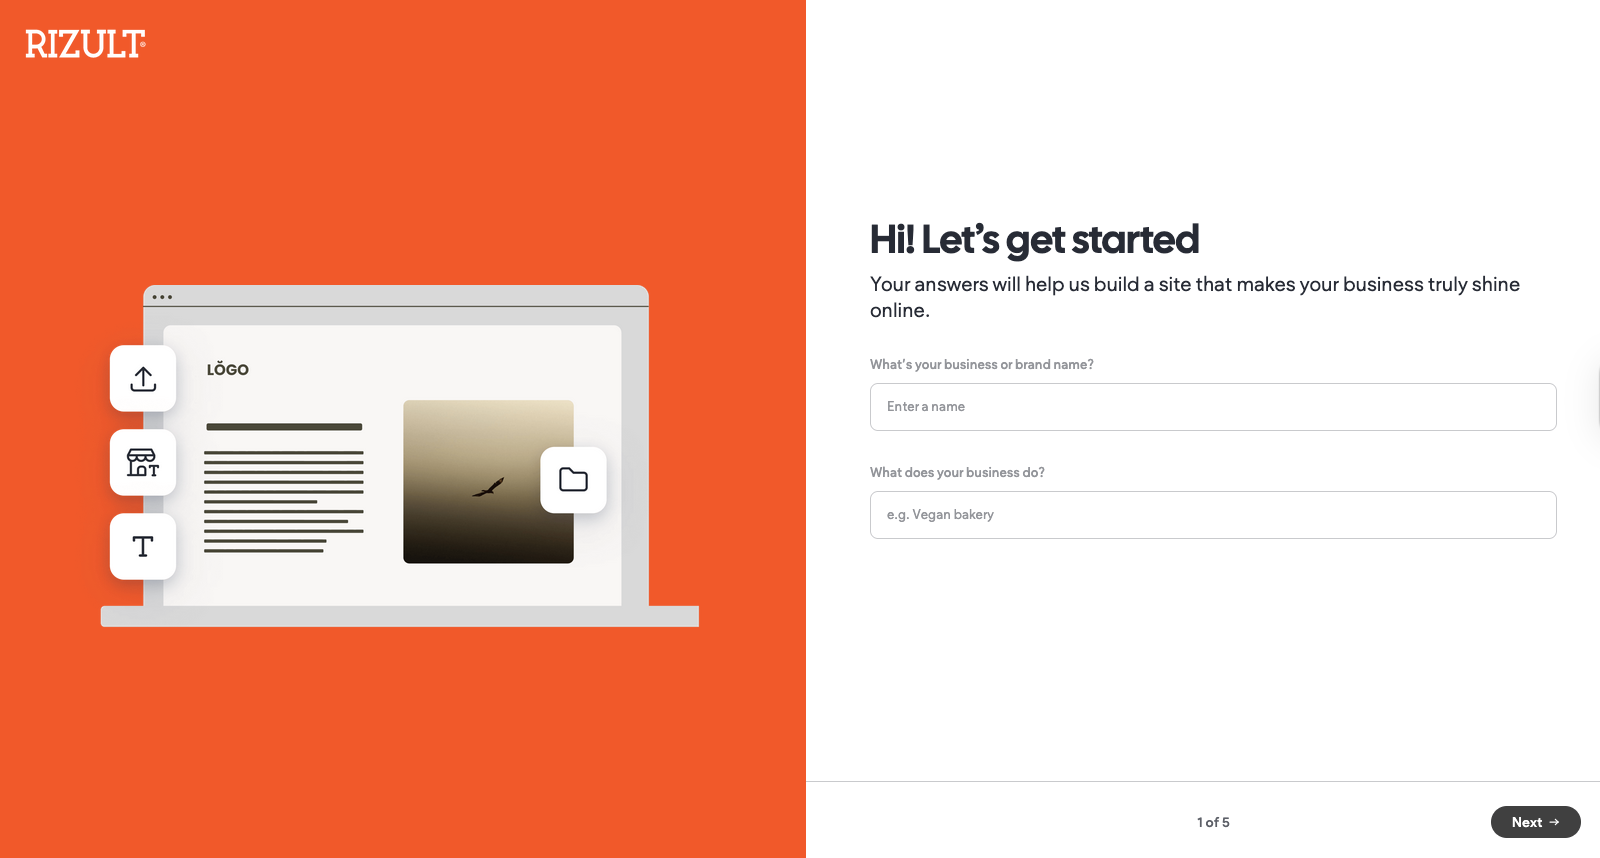
Step 2:
- Before you begin, You will need a logo (a transparent png is best, but jpg will do). If you don't already have a logo there are lots of places online where you can create one quickly (some free, some you pay) but not expensive.
- Up to 100 characters (letters) of what your business does.
- Up to 5000 characters brief description. (get something like ChatGPT to write it for you)
- Your will be taken through a few simple questions about your business.
- When complete click 'Generate Site'
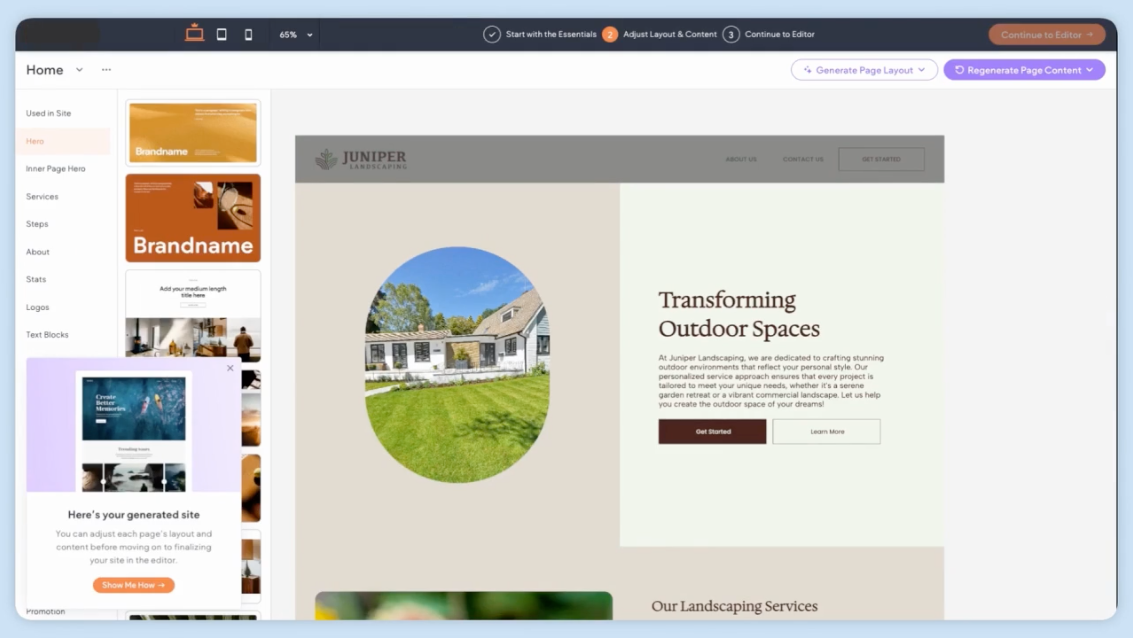
Step 3:
- AI will automatically generate your website based on the details you’ve provided. It will select free, high-quality images and write the initial copy for you. You can easily update or replace anything you don’t like.
- Watch the video below to see how to edit and customize what the AI has created. For more detailed tutorials, visit the Help Centre located in the footer.
- Have fun exploring! You can regenerate pages, images, and text — even individual elements — as many times as you like.
- When you’re happy with your draft, click “Continue to Editor.” This is where you can fine-tune every detail and make the site truly yours. It’s similar to tools like WordPress or Elementor, but much simpler — so don’t worry if you haven’t used those before.
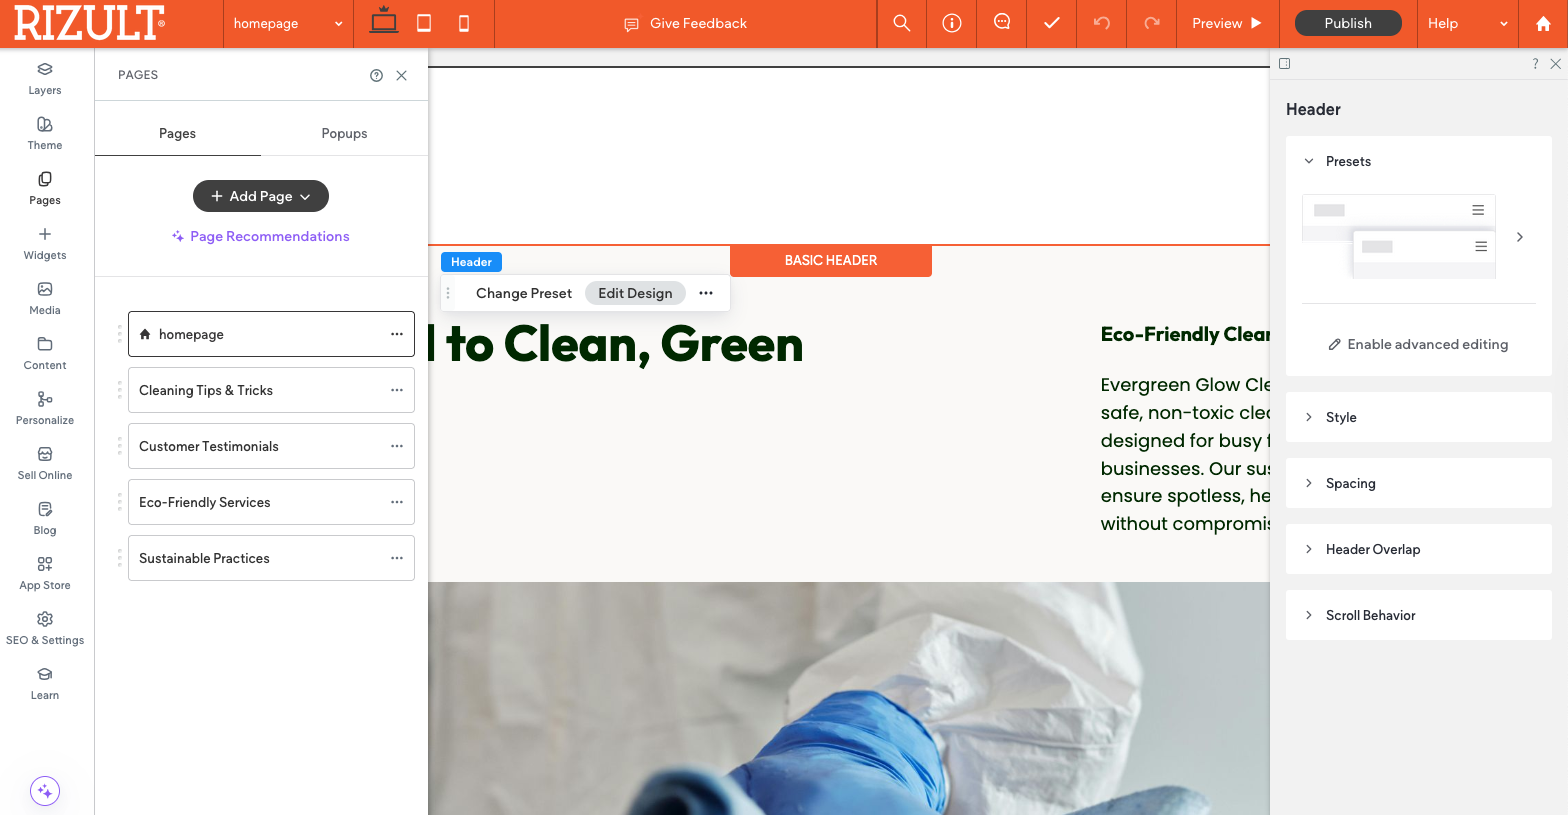
Step 4:
- This is the Editor Studio or Canvas. Now you can tweak, amend until your hearts content.
- Look around. Get used to how things work. How easy it is to use. Have fun. You can always it the '↶' (undo last command at the top of the page.
- Warning don't hit PUBLISH until your site is finished!
- But do hit the '✔' button (at the top) every now and then, to save where you are up to.
Build Your Site with AI (watch the video)
Option 2.
Build Your Site from a Template
What it is: Start with a professionally designed template.
How it works:
Pick a template that fits your style, then customize layouts, colors, and content to match your brand.
Why it’s great:
Gives you control over your design while saving time on the basics.
Some of the templates already include the basics for eCommerce. (But you can add later).
Read the below quick guide to help get you started.
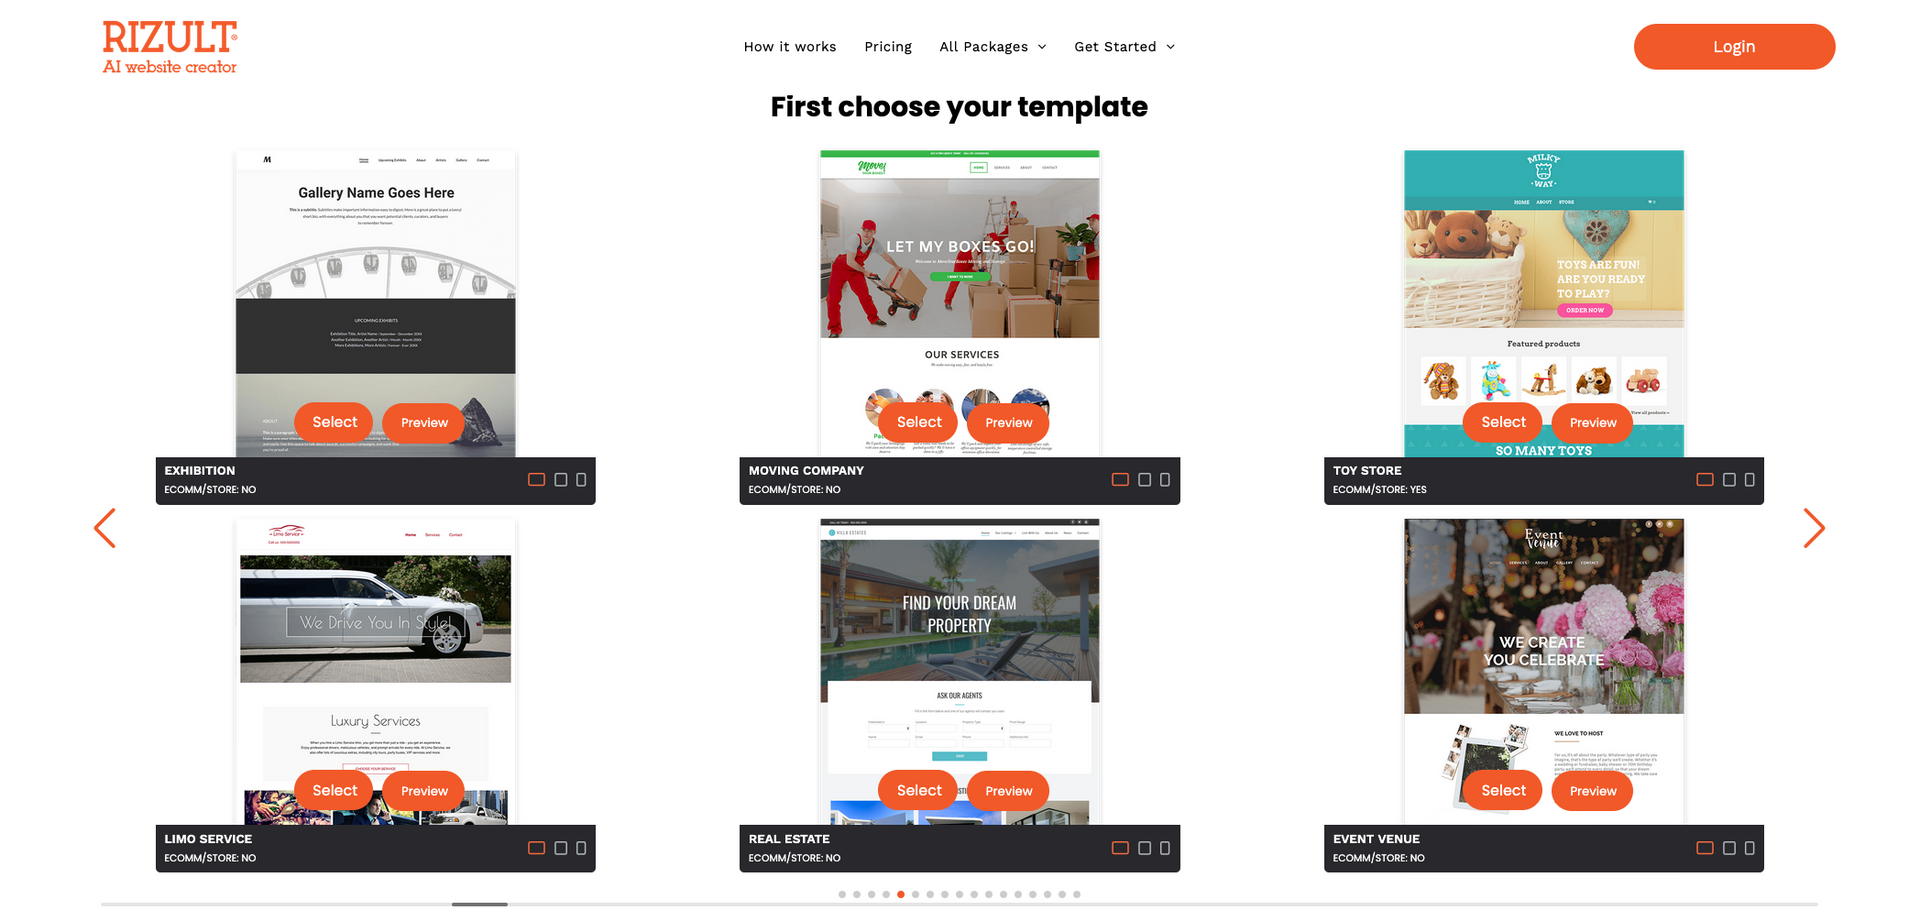
Step 1:
- Choose a template you like the look of. (Remember it will only be the design, so any template can be used. You will control the images and text). The template doesn't need to be the same business type.
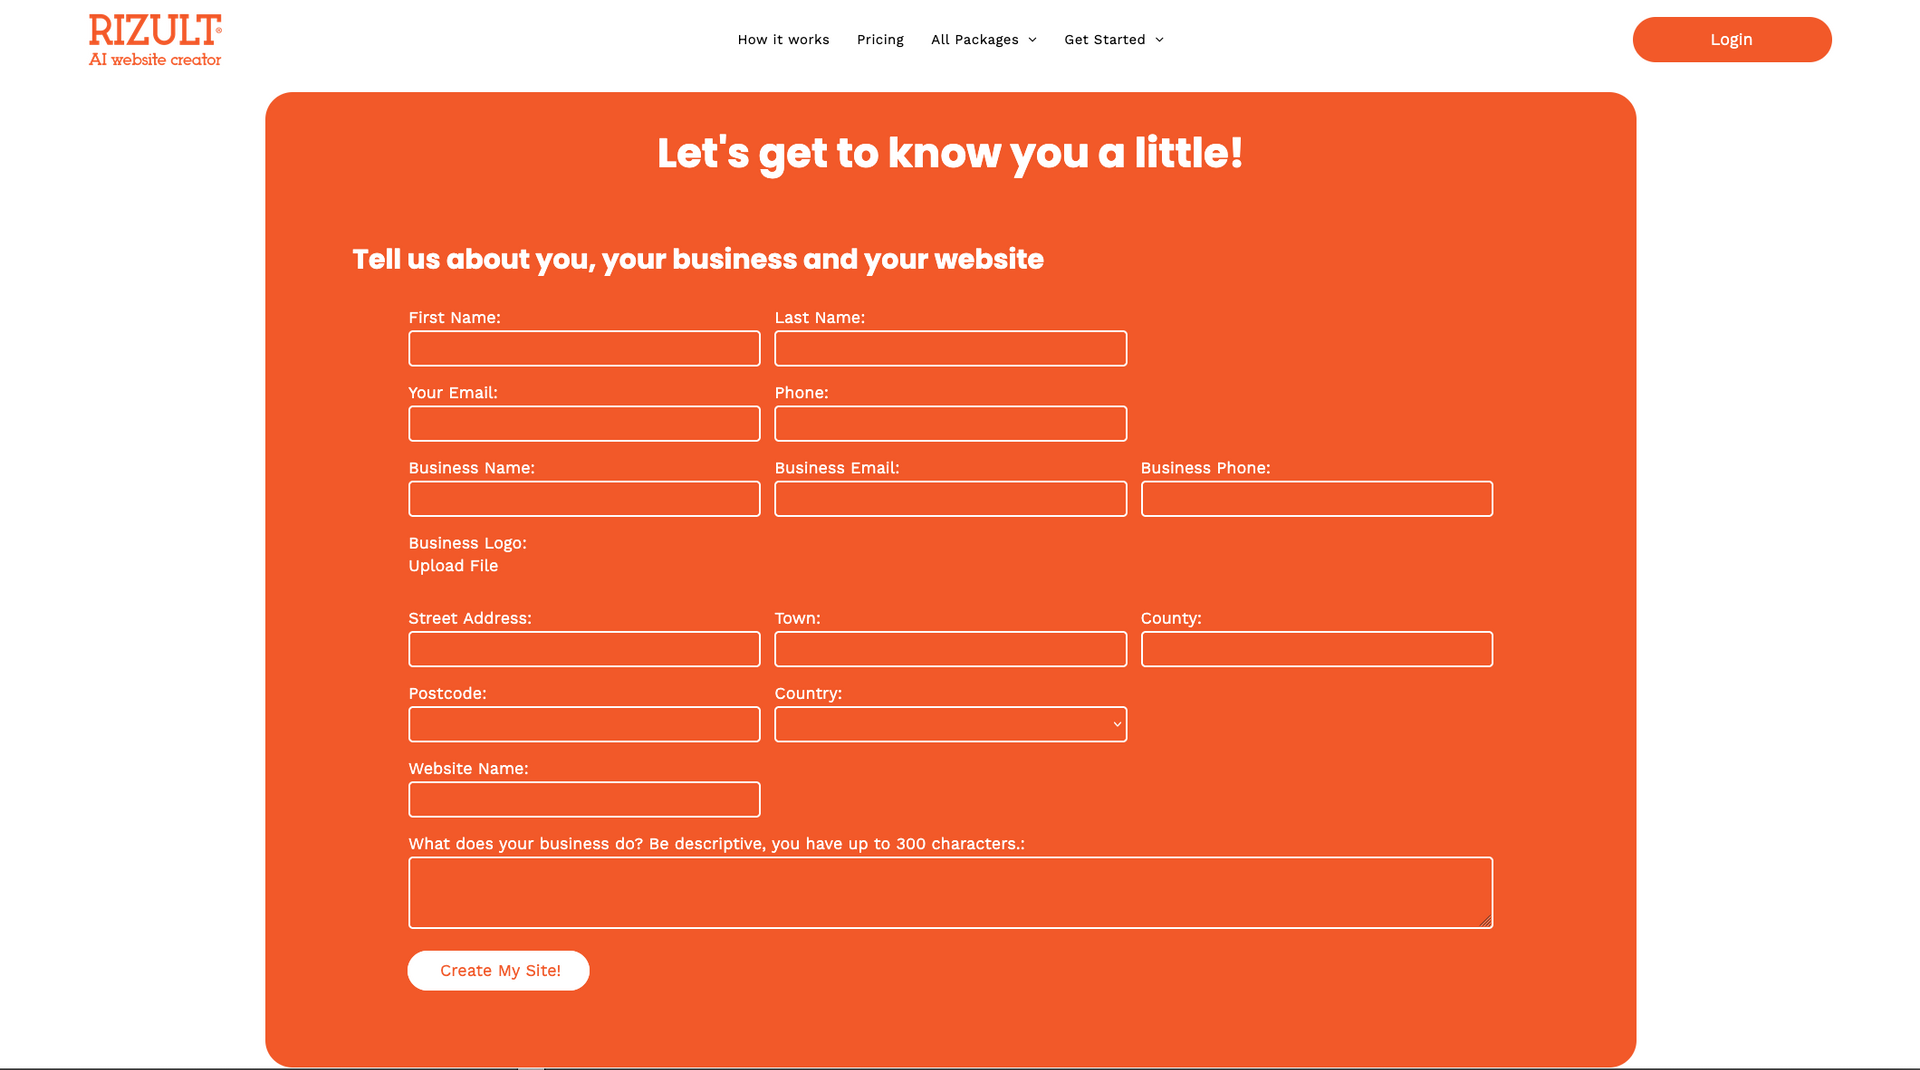
Step 2:
- You will need a logo (a transparent png is best, but jpg will do). If you don't already have a logo there are lots of places online where you can create one quickly (some free, some you pay) but not expensive.
- Up to 100 characters (letters) of what your business does.
- Fill out the rest of your details and click 'Create my Site'
- You are taken straight to the Editor Studio
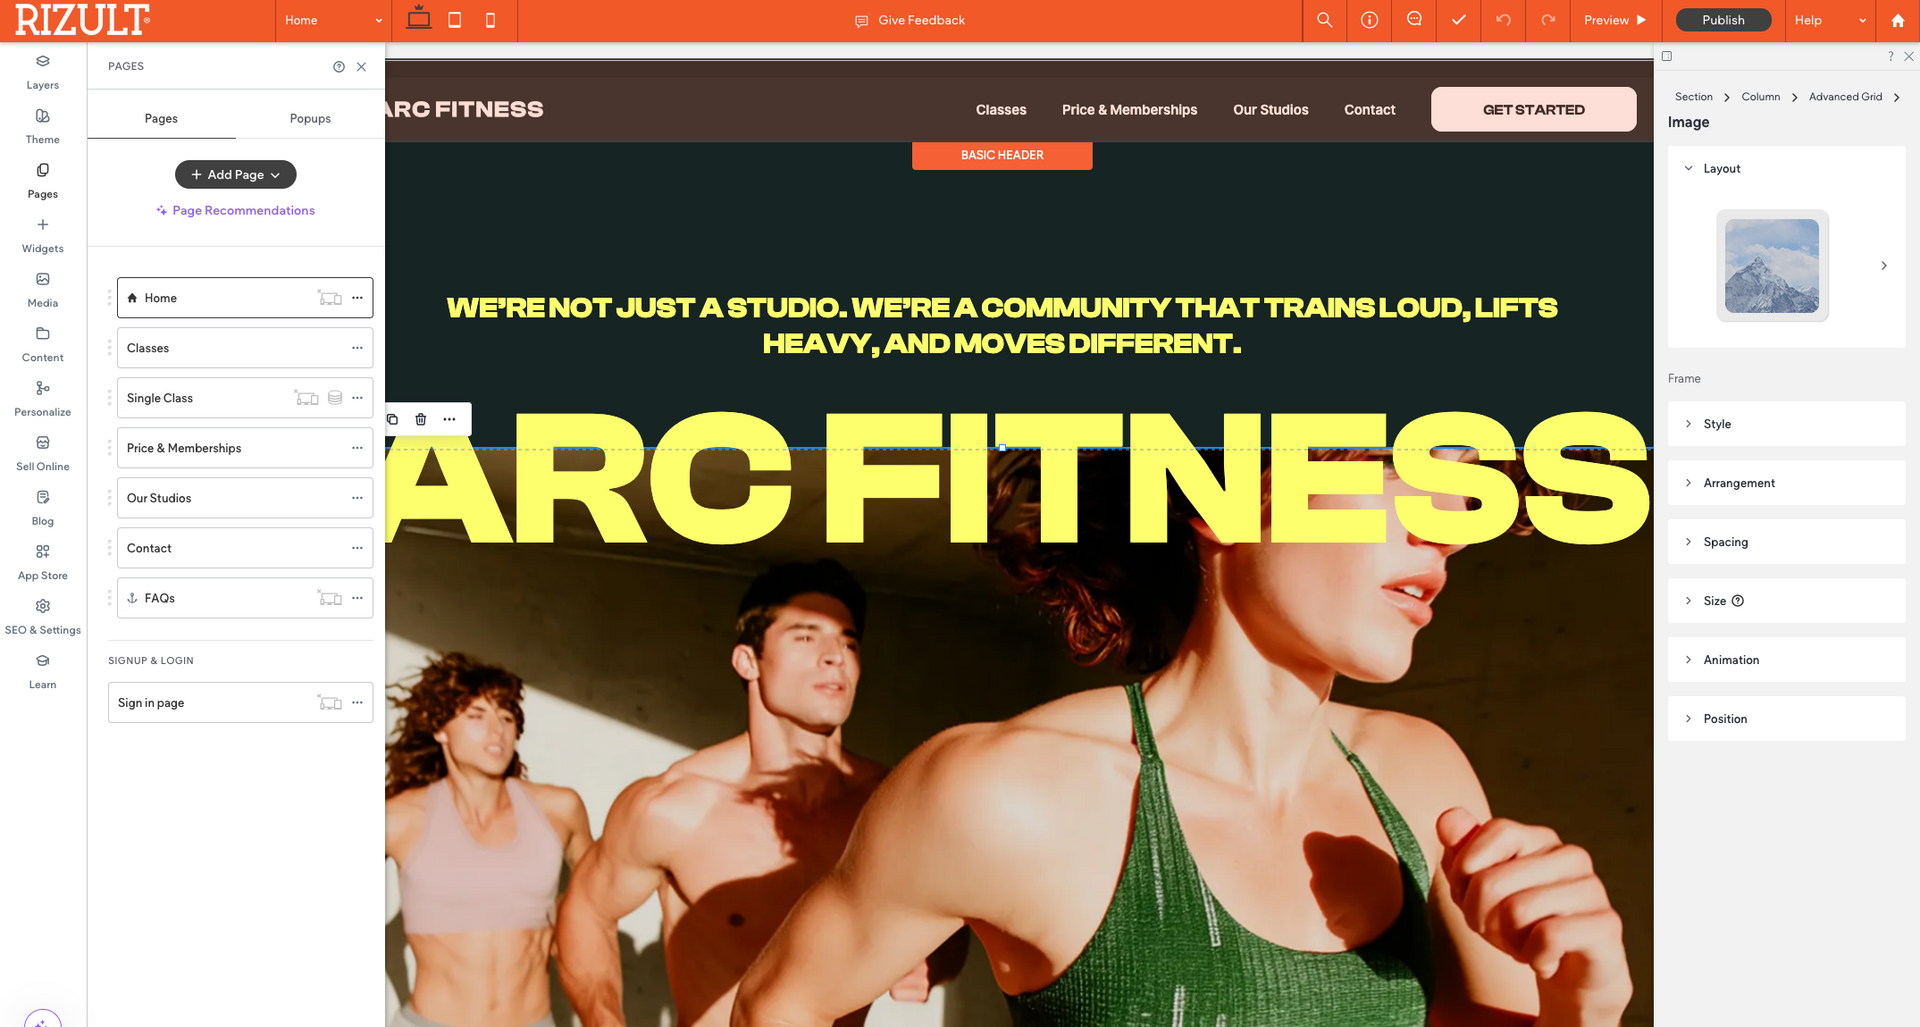
Step 3:
- This is the Editor Studio or Canvas. Now you can tweak, amend until your hearts content.
- Look around. Get used to how things work. How easy it is to use. Have fun. You can always it the '↶' (undo last command at the top of the page.
- Warning don't hit PUBLISH until your site is finished!
- But do hit the '✔' button (at the top) every now and then, to save where you are up to.
Step 4:
- Here, you can easily edit all the text on your site.
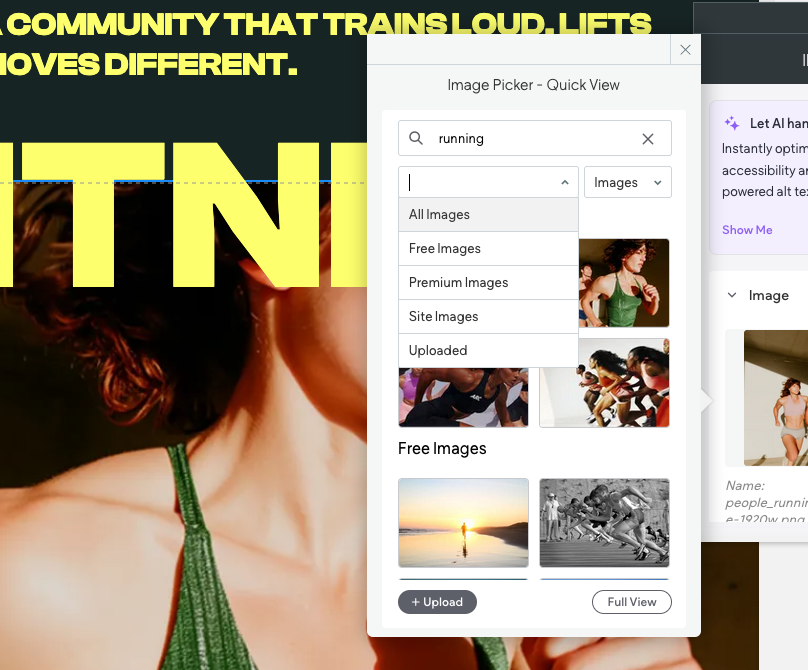
- Click on any image to replace it with one of your own (just upload from your computer) or select a stock image — free or paid. Note: Paid images/videos come from a partner site, and payment is made directly to them.
- You can also swap any image for a video, upload your own or choose from a range of free or paid stock videos.
- Delete any pages you don’t need, add new ones, or duplicate existing pages to quickly build out your content.
Build Your Site from a Template (watch the video)
Option 3.
Collect content first
What it is: Turn your existing text, images, or marketing material into a website.
How it works: Upload your content, and our platform organises and formats it into a clean, modern site.
Why it’s great: Quickly transforms your ideas and assets into a live website without starting from scratch.
Read the below quick guide to help get you started.

Step 1:
- Start by completing the step-by-step form. Unlike the AI version, this form lets you enter your own text, share more details about your business, and upload your logo along with any existing images and videos you’d like to include.

Step 2:
- You will need a logo (a transparent png is best, but jpg will do). If you don't already have a logo there are lots of places online where you can create one quickly (some free, some you pay) but not expensive.
- You can choose AI to design the site with your content or you can design it yourself
- You are then taken straight to the Editor Studio
Step 3:
- This is the Editor Studio or Canvas. Now you can tweak, amend until your hearts content.
- Look around. Get used to how things work. How easy it is to use. Have fun. You can always it the '↶' (undo last command at the top of the page.
- Warning don't hit PUBLISH until your site is finished!
- But do hit the '✔' button (at the top) every now and then, to save where you are up to.
Step 4:
- Here, you can easily edit all the text on your site.
- Click on any image to swap it or select a stock image — free or paid. Note: Paid images/videos come from a partner site, and payment is made directly to them.
- Delete any pages you don’t need, add new ones, or duplicate existing pages to quickly build out your content.
Build Your Site from Collected Content (watch the video)
Option 4.
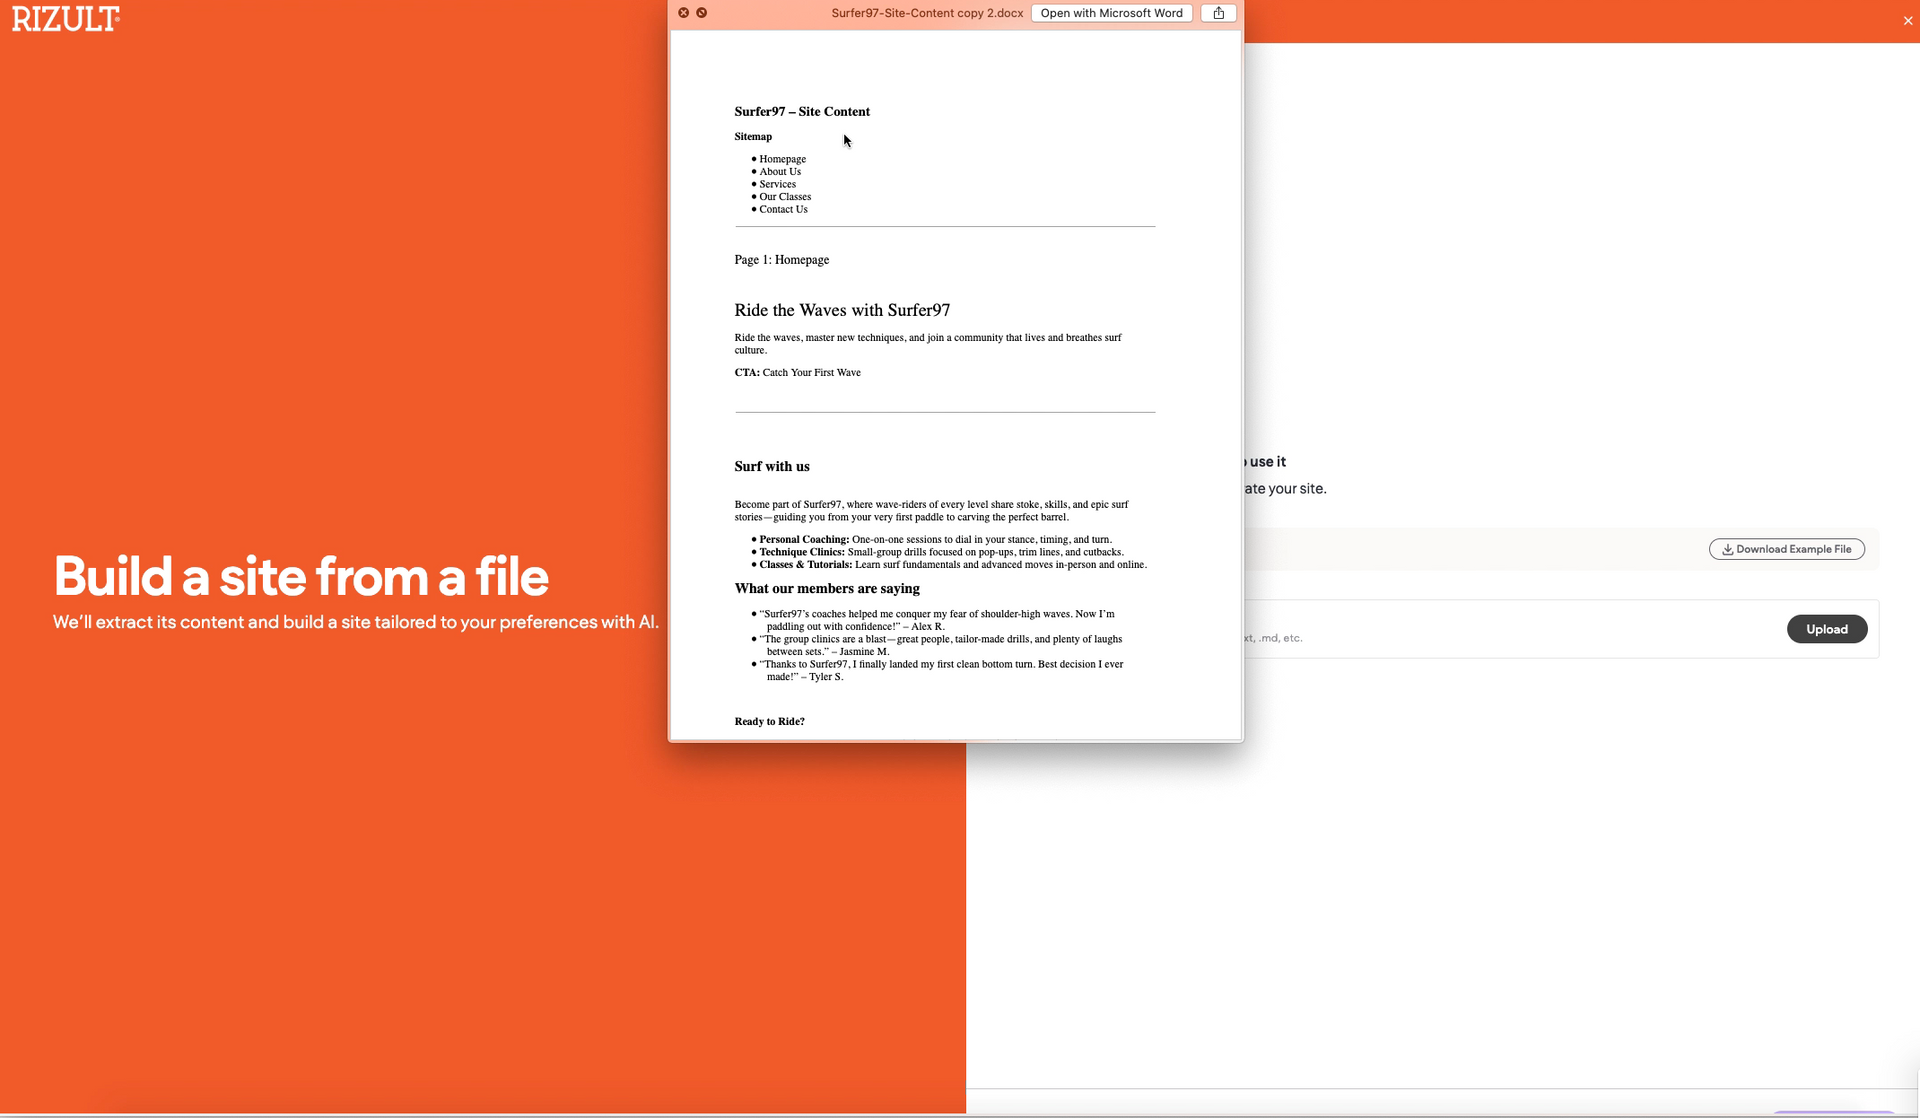
Create a Site from a Word File (coming soon!)
What it is: Convert a Word document into a professional website.
How it works: Upload your Word file with all your text and images, and our AI structures it into a complete website.
Why it’s great: Ideal for clients who already have content drafted and want a fast, hassle-free setup.
Read the below quick guide to help get you started.
Step 1:
- Prepare Your File. Download the example Word file to see how your content should be structured. Then, make a copy and replace the sample text with your own page content.

Step 2:
- Upload your Word file and answer a few quick questions — whether to use your text exactly or as a prompt, and whether your site will be single-page or multi-page.
- Upload your logo (transparent PNG works best). Choose your colors, fonts, and overall style. The AI will use this to match your brand’s look and feel.
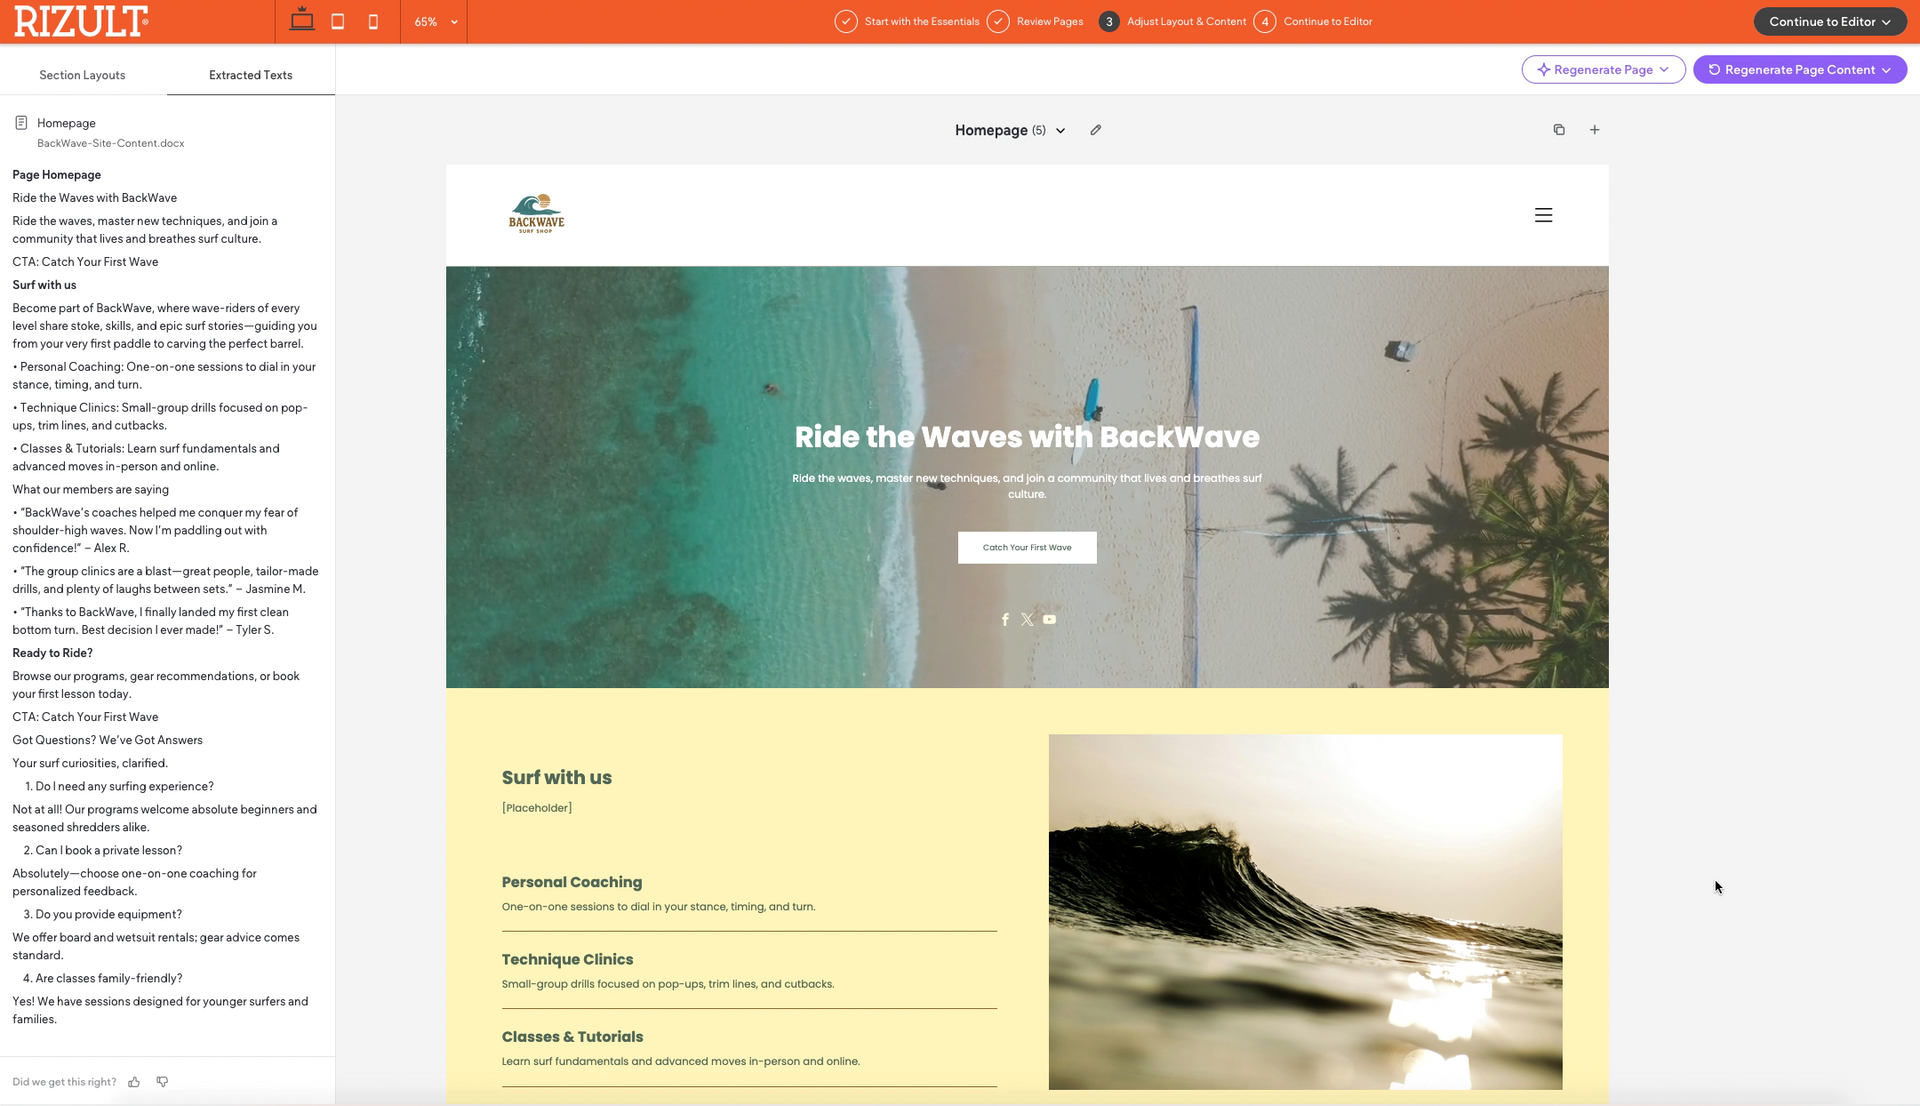
Step 3:
- Rizult builds your full website with your content. If a page doesn’t look right, regenerate it or continue to the editor to tweak anything.
Step 4:
- Here, you can easily edit all the text on your site.
- Click on any image to swap it or select a stock image — free or paid. Note: Paid images/videos come from a partner site, and payment is made directly to them.
- Delete any pages you don’t need, add new ones, or duplicate existing pages to quickly build out your content.
Build Your Site from a Word File (watch the video)
Add Your eCommerce Store with Rizult – Quick and Easy!
These short tutorials show you step by step how to add your eCommerce store using Rizult. From connecting Worldpay to managing your products, each video makes it easy to see how fast and simple getting your store live can be.
Step 5 – Add a Store
How to add and design a store. Create categories and add product.
Step 6 – Shipping/Delivery
Decide on Shipping.
Here is Royal Mail packaging prices to help you. (other couriers are available).
Step 7 – Banking and taxes
Step 8 – Connect Payment gateway
To connect your payment gateway, go to Settings → Payments, choose your provider like Stripe or PayPal, link your account, and test a transaction. Once connected, you’re ready to accept payments securely on your Rizult store.
Step 9 – Publish and Connect your URL
Publish your site and attach your website address.
Base Plan
Brochure Website
£29 per month
A brochure website (no eComm)
AI Website Builder
URL Redirects
Web Personalisation
Advanced Statistics
Multi-Language
Developer Mode
Multi Location Widget
Launch Plan
eCommerce Website
£49 per month
Up to 100 products
8 variants per product
Website Builder
eCommerce
Up to 100 products
Up to 8 variants per product
0% transaction fee
Inventory management
Product import & export
Product search
eComm API access
Sell services & accept donations
Boost Plan
eCommerce Website
£99 per month
Up to 1,000 products
300 variants per product
Website Builder
eCommerce
Up to 1,000 products
Up to 300 variants per product
0% transaction fee
Inventory management
Product import & export
Product search
eComm API access
Sell services & accept donations
Sell digital products
Automatic taxes
Product sorting and filtering
Automatic shipping
Sell subscriptions
(stripe only at this time)
Infinity Plan
eCommerce Website
£149 per month
Up to 20,000 products
400 variants per product
Website Builder
eCommerce
Up to 20,000 products
Up to 400 variants per product
0% transaction fee
Inventory management
Product import & export
Product search
eComm API access
Sell services & accept donations
Sell digital products
Automatic taxes
Product sorting and filtering
Automatic shipping
Sell subscriptions
(stripe only at this time)
Feel free to get in touch-we’d love to hear from you!
Whether you need a bespoke website, expert advice, or have a question, we're here to help.
Drop us a message,
we’d be delighted to assist you!
For website build questions, visit the 'Help Centre' knowledge base in the footer for guides and tutorials.
Contact Us
We will get back to you as soon as possible.
Please try again later.